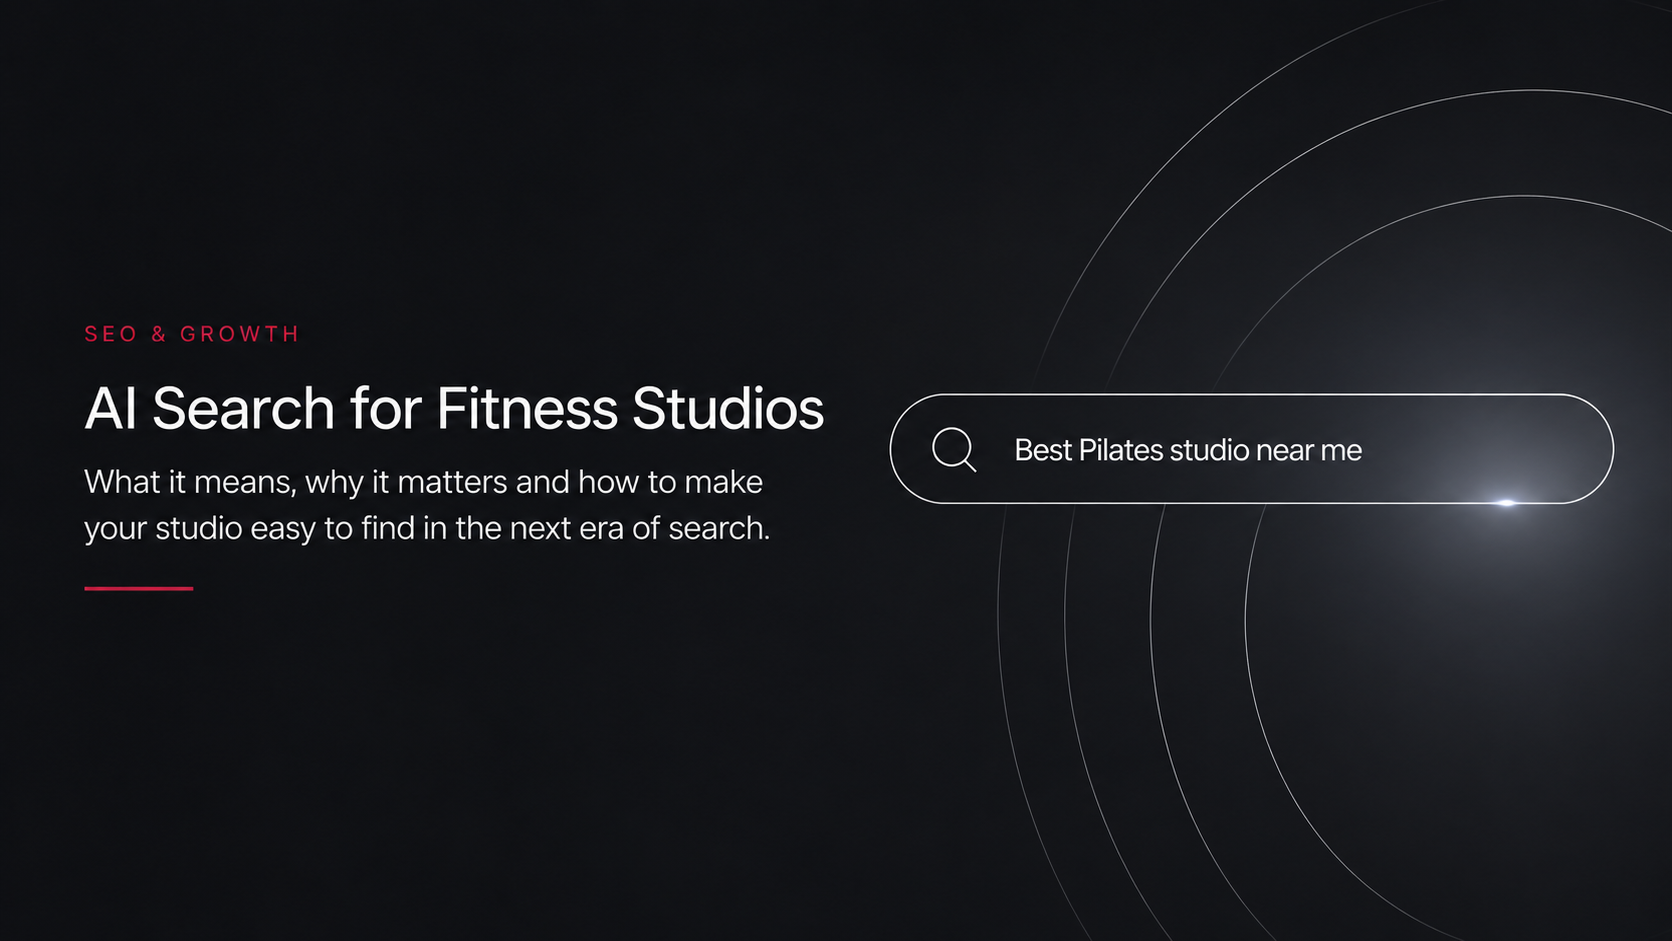
Google isn’t the only place prospective members are asking where to work out anymore.
For years, fitness studio search strategy was relatively straightforward.
Someone searched Google for:
“Pilates near me.”
“Best cycling studio in Las Vegas.”
“Beginner Lagree classes.”
Studios optimized their websites and local listings to appear in those results.
That behavior isn’t disappearing, but a new discovery experience is emerging.
Consumers can now ask AI assistants conversational questions such as:
“What’s a good Pilates studio near me for beginners?”
“Find me a strength-focused fitness studio with early morning classes.”
“What’s the difference between these three Pilates studios?”
Instead of receiving only a page of links, users may receive a synthesized answer.
That changes how fitness brands should think about being discovered online.
SEO Is Expanding Beyond Traditional Search
Traditional SEO focuses heavily on helping search engines understand and rank pages.
AI-powered discovery adds another consideration:
Can machines clearly understand your business?
Your website should make basic questions easy to answer:
- What does your studio offer?
- Where are you located?
- Who is it for?
- What class types do you offer?
- What makes the experience different?
- Who are your instructors?
- How does pricing work?
- How does someone get started?
If this information is buried inside images, vague marketing language or disconnected booking platforms, understanding your business becomes harder for both people and machines.
Clear Content Matters More Than Clever Content
Boutique fitness branding often relies on short lifestyle-oriented phrases.
“Find your fire.”
“Become your strongest self.”
“Movement reimagined.”
Those phrases can reinforce a brand, but they don’t necessarily explain the business.
A strong website needs both branding and clarity.
For example:
Less useful:
“Discover a better you.”
More useful:
“Reformer Pilates classes for all experience levels in Downtown Las Vegas.”
The second statement immediately provides useful context.
Your website can still have personality. Just don’t make visitors )or search systems) guess what you actually do.
Build Strong Class and Service Pages
A single paragraph listing every service isn’t enough for many studios.
Dedicated pages can clearly explain individual offerings such as:
- Reformer Pilates
- Lagree
- Indoor Cycling
- Barre
- Yoga
- Strength Training
Each page creates an opportunity to explain:
- What the class is
- Who it’s designed for
- What someone should expect
- Where it’s available
- How to get started
This is useful for traditional search, AI discovery and most importantly prospective members.
Location Pages Become Even More Important
Multi-location fitness brands should give each studio a meaningful digital presence.
A strong location page can include:
- Address
- Neighborhood or market
- Class offerings
- Schedule
- Pricing
- Amenities
- Instructors
- Contact information
- Frequently asked questions
Useful local information helps both members and search systems understand what makes each location relevant.
Answer Real Member Questions
AI search is conversational.
Your website content should increasingly reflect the questions people actually ask.
Examples include:
- Is Pilates good for beginners?
- What should I bring to my first class?
- What’s the difference between Lagree and Pilates?
- Do I need grip socks?
- How early should I arrive?
- Which membership is best if I attend twice per week?
- Can beginners take this class?
These questions can become:
- FAQs
- Blog posts
- Class-page content
- Getting-started guides
- Location-specific information
You’re not writing content for robots.
You’re documenting the knowledge prospective members genuinely need.
Keep Your Information Consistent
AI-powered discovery can pull signals from across the web.
That makes consistency important.
Studios should regularly review information across their:
- Website
- Google Business Profile
- Booking platform
- Social profiles
- Business directories
Location names, addresses, services and other important details should agree wherever possible.
Conflicting information creates confusion for members and machines alike.
Build Authority Through Useful Content
Studios have knowledge that generic fitness websites don’t.
Your instructors understand movement.
Your team understands your methodology.
Your operators understand the local community.
Turn that expertise into useful content.
Instead of publishing articles solely because you want to “do SEO,” answer meaningful questions related to your business and expertise.
Over time, that creates a stronger body of information around your brand.
Don’t Abandon Traditional SEO
AI search does not mean studios should suddenly stop caring about Google.
The fundamentals still matter:
- Fast websites
- Mobile usability
- Local SEO
- Helpful content
- Clear site architecture
- Accurate business information
- Strong location and service pages
In many ways, preparing for AI discovery means getting these fundamentals right rather than chasing a completely new set of tricks.
The Fitness Website Is Becoming a Source of Truth
The role of the studio website is evolving.
It isn’t only somewhere to send traffic after someone discovers your brand.
It increasingly serves as the authoritative digital representation of your business for members, traditional search engines and emerging AI discovery experiences.
That makes clear, structured and useful website content more valuable than ever.
Fitness studios don’t need to predict exactly how AI search will evolve.
They need to make sure that when someone (or something) asks what their studio is, what it offers and why someone should visit, the internet has a clear answer.